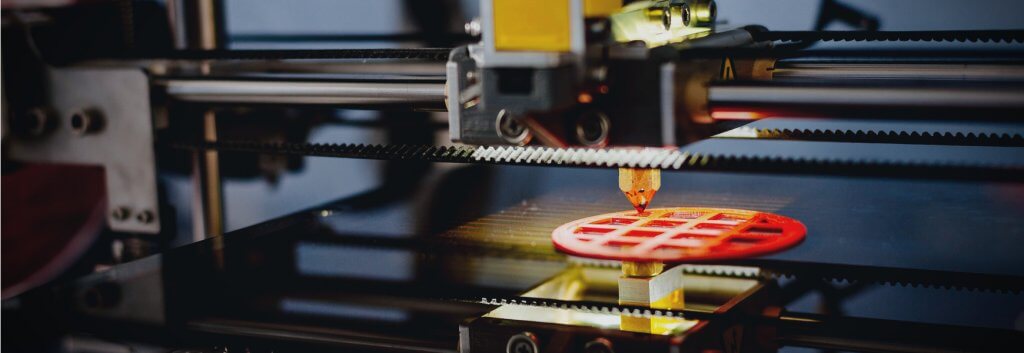
Often, people lose sight of the purpose of prototyping and push to see an “end product” with all the bells and whistles, because they are so focused on generating sales and securing funding.
However, from a product point of view, the purpose of prototyping is to create incomplete models, mock-ups or design to provide insight into real-world design requirements. It is a method to visualize, evaluate, learn and improve specifications and requirements prior to locking in a final design.
Ideas are just ideas. There is a process for making them real.
At KD, we follow a number of prototyping methodologies that culminate in something that represents the final product but can start off as something very different. No matter which prototyping approach is taken, the process is always iterative, and with every iteration comes new learnings.

What are the Different Prototyping Methods?
These prototyping methods can be used throughout the concept and product development phases right up until design freeze and release to Design For Manufacturing (DFM).
Conceptual prototyping
This is really about finding a way to communicate your idea and to quickly explore high-level ideas and concepts. This allows you to quickly identify the challenges, issues, basic requirements and key features. It can be done inexpensively and as basically as sketching, styrofoam cutting or rendering, if you have the skill set.
At this point anything is possible, but not everything is feasible. However, that is perfectly fine and can be a part of the process.
Feature prototyping
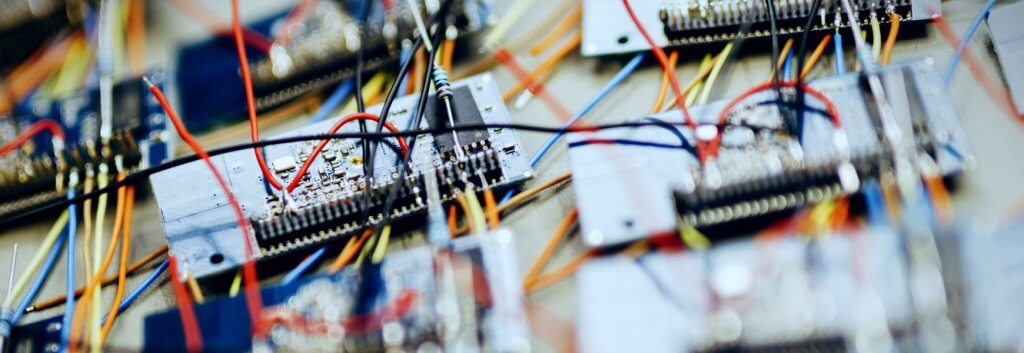
There is still a lot to learn before finalizing the design and feature-set, so it is good practice to prototype parts of the mechanical system or breadboard version of the electrical system (not considering size, layout, final costs) in order to start the collection of information and data points on the performance and functionality requirements, constraints and limitations.
Proving out suitability of technologies, chipsets, sensors or key mechanisms are key in this prototyping exercise but ultimately, this prototype will not represent the final product and will be left behind when proceeding to the next stages of prototyping.
Evolutionary prototyping
This occurs when you have an initial functioning prototype but still require analysis to determine the actual required specifications and requirements while considering the trade off of cost/performance/availability amongst other variables.
The prototype is continuously refined, evaluated, tested and iterated until it evolves into the final system that you wish to take to production.

How Do You Get From Prototype to Production?
During the later product development stage, our engineers are not just designing with an aim to make a prototype that looks good and functions. The aim is to design something that can be realized into a saleable product.
This means that considerations like manufacturing processes, material and component choices, BOM costs and detailed lists of features and requirements are all now being taken into account, then designed into the final package.
Preparing Your Technical Package
The short answer to how do you get from prototyping to production is that you should have all the documents below in order and in detail.
This complete technical package will allow you to now approach suppliers/factories for quotation, audit, technical reviews and ultimately find the right supply chain to deliver the product (to the agreed specifications, cost and schedule) that you have worked so hard to bring to this point.
Required Documents:
- Product Requirements Document (PRD)
Define the value and purpose of a product and its features. - Colour, Material, Finish (CMF)
Colour, material and finish need to be defined for every mechanical part. - 3D files
Fully detailed, good quality, clean 3D files for the entire system (parts defines, not just surface files). - Costed Bill of Materials (CBOM)
Line-by-line Costed Bill of Materials for every last component. - Schematics
Fully detailed electronic schematics. - Gerber files
Detailed, clean, following the best practices for design files. - FW source code
Firmware source code is essential. - Final prototype review
Any open items, known issues, key challenges. - Non Disclosure Agreement (NDA)
Never share your filer without vetting your suppliers and signing NDA agreements in advance.
Getting all this ready, however, does not mean that you are already in production. It is a common mistake to think, “I have this working thing, someone just needs to make it,” when in reality, you still need to go through the New Product Introduction (NPI) phase.
Document Templates
To help you prepare your documents, we have provided some guidelines below on common ones our clients struggle with.
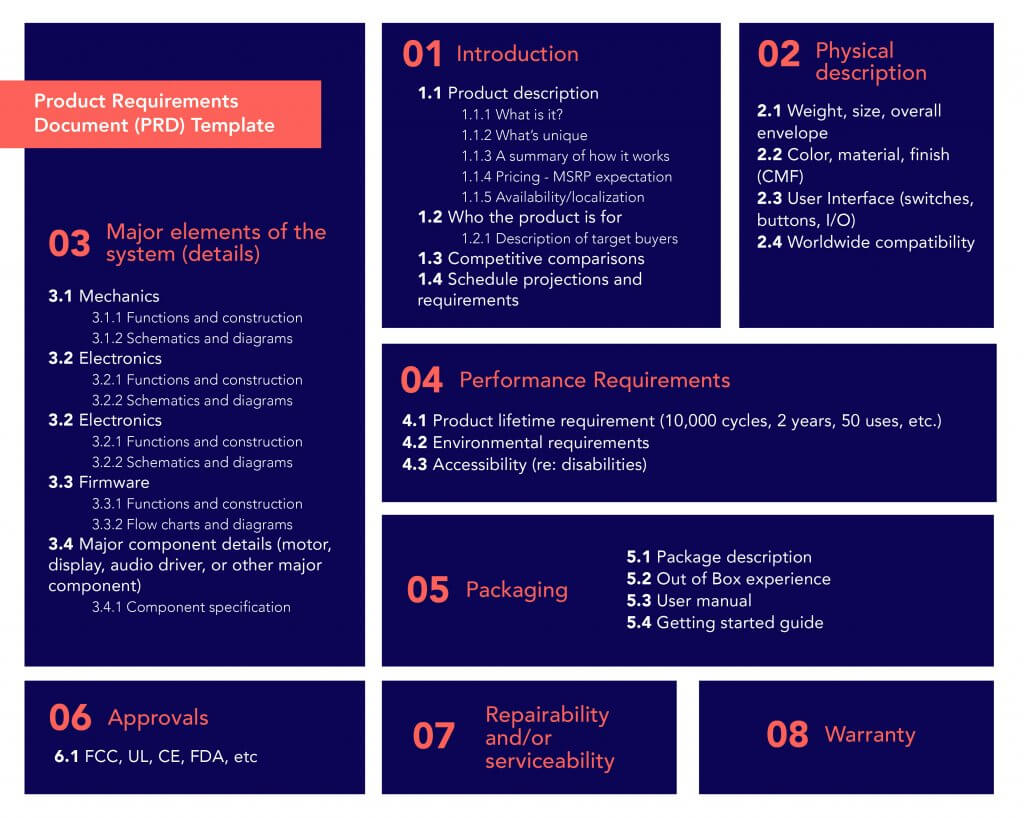
Product Requirements Document (PRD)
Below is a PRD template that we often share with clients. While you may see something here worth including, this is not meant as an exhaustive template. Consider it a general guide to help you in developing your own PRD.

Costed Bill of Materials (CBOM)
This document helps explain the overall cost of your product. To make it as accurate as possible, call out any negotiated costs you already have with chip manufacturers. If you have trouble creating your own BOM, Vinyard Product Development and Bommer have produced an open-source Google Sheets template that you can easily copy for your own product.
Final Words
Going from prototype to production is not as simple as you may think. You need to go through an entire process of designing, prototyping, developing and documentation to get to production/NPI. But with the right documents and processes in place, you can ensure that you get there as smoothly as possible.

